This past weekend I surprised my wife with a day at the Spa, a hotel night alone and a day of shopping. After having six children and homeschooling all of them plus being married to me for 23 years it was way past due!
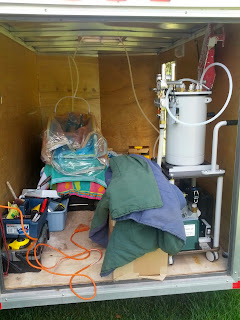
So, while she was off relaxing I thought it would be a good idea to pull the Beam Mold Model out of storage and try to fix the leaks by double-bagging it. That was an adventure in itself as I spent 45 minutes over at the storage unit just moving stuff in and out to find the things I needed. But it was also a good opportunity to find the "Sticky Stuff Epoxy Dispenser". I needed some information off one of the manifolds so I could order a "Low Viscosity" replacement valve for the hardener side.
Anyway, my supply of sample materials is nearly exhausted and I had no tacky tape left over so I asked a friend of mine if I could have a few rolls of some metal roofing tape. The grey tacky tape worked OK, but it only had about 1/2 the stickiness of the yellow tape.
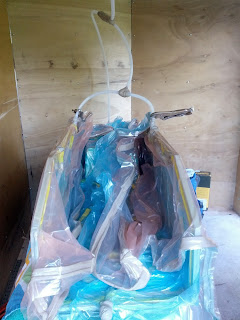
I spent a couple hours on Friday breaking down the wooden mold and then using two bags stuck together to create a larger bag to wrap around the entire part and hopefully seal the leaks. Unfortunately, it didn't help much and I was only able to pull a mediocre vacuum.
Since I really don't have the room to keep this part I decided to shoot it anyway just to see what would happen. So, I mixed up 1500g of Resin and let it go... It took a little while, like five minutes but I was actually surprised when I saw resin starting to pool in the vacuum lines. With all the tape mess and layers of plastic, I couldn't even see the resin front so I really had no idea what was going on inside the bag.
I ran the pump for four hours until things started to gel and then ran it another 30 minutes under full vacuum to dry it out. Since the pump is going back into storage for quite some time, I decided to change the pump oil and let it run with the new oil for another 30 minutes to ensure it was all dry and lubricated inside before shutting it down for storage.
After that was done I put the mold in the Living Room to let it cure while I spent the rest of the afternoon re-arranging the storage unit - mostly to fix the mess I created in the first place.
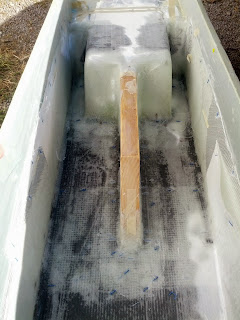
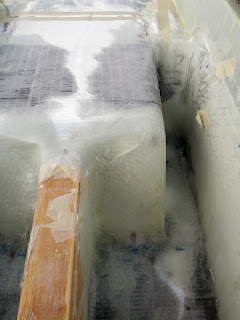
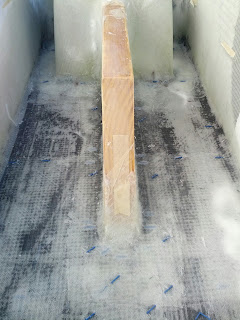
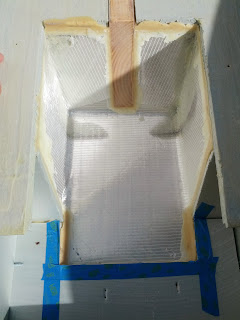
The next day I removed the bag to find this disaster... (not that I was expecting a perfect part)
 |
| Poor Infusion, but good fabric layup |
 |
| Extremely poor quality infusion |
 |
| Underneath of model - almost completely dry |
Lessons learned:
- A leaky mold makes for certain disaster - if you can't find and fix the leaks then forget about Infusion!
- My infusion strategy for this part needs to be reconsidered.
- My resin front is way too fast! I keep having the same problem in this area, I will search for some slower distribution media to calm things down a bit.
- I cannot get the entire thickness to infuse - Resin simply race-tracks along the top few layers of glass. Maybe I can infuse without Distribution Media and a "series" type of set up for this type of part?
- I was REALLY worried about getting enough resin back into the base of the Beam Mold. That seemed to mostly work out OK, but everything else was a complete failure.
- Carbon infusion seems to be slower than fiberglass. (Again, the Resin front needs to be slowed down without stalling)
- On the bright side, the patterns I created for cutting the fiberglass seemed to work out well. I have almost 75mm of overlap built into every piece to ensure the necessary strength in those areas.
At the end of the day, maybe this part is better off being made via Bagging instead of Infusion?
I have a few years to think about it..
Shoot me a message if you have some advice!
