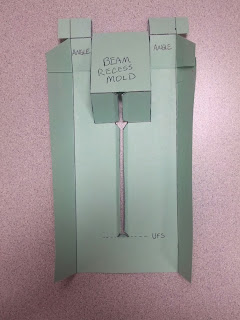
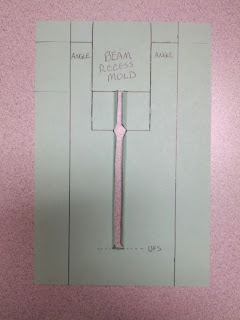
The manual itself dedicates a large section to beam building and I have reviewed it numerous times. As you might imagine, the instructions show this perfect layup flowing smoothly over all the parts and I just sit here trying to figure out exactly how that fabric will conform to all those angles while avoiding excessive pleats, folds and fiber distortion - especially over the Beam Recess Mold and towards the innermost section.
So, I started playing around with some paper models to get some plan worked out. Several ideas came to mind but eventually I came up with the following:


This turned out to be nice and neat, but I had some doubts about the side panels that would be required. Actually, those panels wouldn't even be a problem if I could just lay in a "cap" piece to capture the entire beam mold,, but this part is height critical so you can't just put a bunch of overlaps there.
I sent it over to Ian for review and approval but it was ultimately rejected due to the butt joins required on those side panels... so this idea goes straight into the trash and back to the drawing board I go!
The next pattern will be a two-piece assembly, one over the Beam mold and then tied into the rest of the fabric with 100mm staggered lap joins.
More on that later.
On another note, Endurance emailed me today to let me know the Epoxy will be shipped out today. So I might be able to do my first test infusion over the weekend!?


No comments:
Post a Comment