I worked a few hours on getting the Peel-Ply, Perforated Film, Distribution media and lines installed in the model.
The idea is to inject resin along the floor and directly into the rear corners where the fabric thicknesses are greater. I decided to route the Vacuum plumbing into four zones for testing. One entire side has its own vacuum line, while the other side has two "zones". The top of the beam mold is the fourth zone.
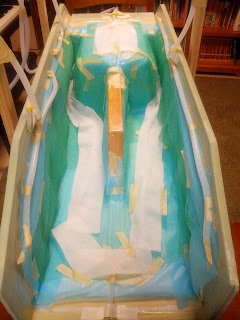 |
| Left side Resin feed line is pushed closer to corner |
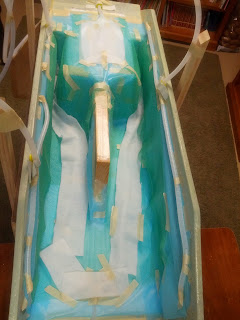 |
| Left side is split into a front and rear vacuum zone |
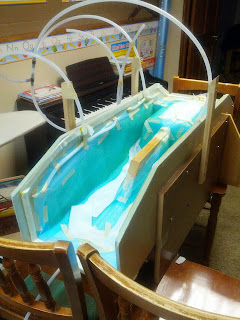 |
| Stakes to support vacuum lines |
 |
| Stakes to support vacuum lines |
The materials are quite slippery and a bit difficult to work with in this situation. I tried using the green "frog" tape to secure the films, but the adhesive is not strong enough so I switched to some regular masking tape. It worked much better. In the end, I believe you should probably have a decent selection of tapes to use depending on what you're trying to accomplish. AirTech sells a few different tapes with different adhesives, they also sell a double-sided adhesive fabric mesh tape. I think that would work very well in some situations.
I cut the vacuum bag with PLENTY of extra material to go into all the corners, but after an hour of carefully sealing and pleating the edges I found that I still didn't have enough material to reach all the corners with enough slack to prevent bridging.
 |
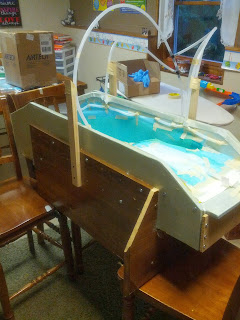
| Inadequate size of Vacuum bag |
The problem now is that I only have about 1.5 meters of tacky tape left over, which is not enough to cut the bag and patch in some additional film. So, I'll have to put this away for a while until I can figure out some feasible solution. I'm hoping to pick up a roll of tape from some metal roofing company... That should work for what I'm trying to do.


No comments:
Post a Comment